
My table saw is currently out of commission and so my primary project is on hold. This provided me with an opportunity to try something different. Something that required no power tools – at least for this first try. Several weeks ago I had purchased a Kumiko kit from Johnny Tromboukis Woodworks (https://jtwood.works/collections/plans-jigs/products/kumiko-starter-kit-asanoha). He was having a Black Friday special and I couldn’t resist. The kit had recently arrived and was calling out to me. Included were the three jigs I would need, the instructions, and a bunch of wood strips to work with. Everything needed to complete the project now, required nothing more than a little arm power – no electricity required. Just a sharp chisel and a small Japanese pull saw.

I had already watched the video on how to do this several times (https://youtu.be/NSYw87j2kV8), but I watched it again – along with reading the directions too. Yes, from time to time I actually do read the directions, don’t tell anyone. It was readily apparent that a sharp chisel was needed. My father had recently cleaned up my chisels, but I decided to also try out the “scary sharp” system that I learned about from Inspire Woodcraft (https://youtu.be/yQEkl0K3vto) and had purchased previously from Taylor Tools. It can be found in the links on the youtube video. Once I actually set up the various lapping films on the float glass, the actual sharpening part went very quickly and seemed to give me a nice sharp edge. Not sure about scary, but certainly sharp enough to cut bevels on some basswood strips.

Now I could get on with the kumiko part. If you are not familiar with kumiko, it is a centuries old type of woodworking from Japan. You can learn more about kumiko and the asanoha pattern at (https://japanobjects.com/features/kumiko) where you can also see many other patterns. There are lots and lots of them. Some of them are wildly complex, I was starting simple.

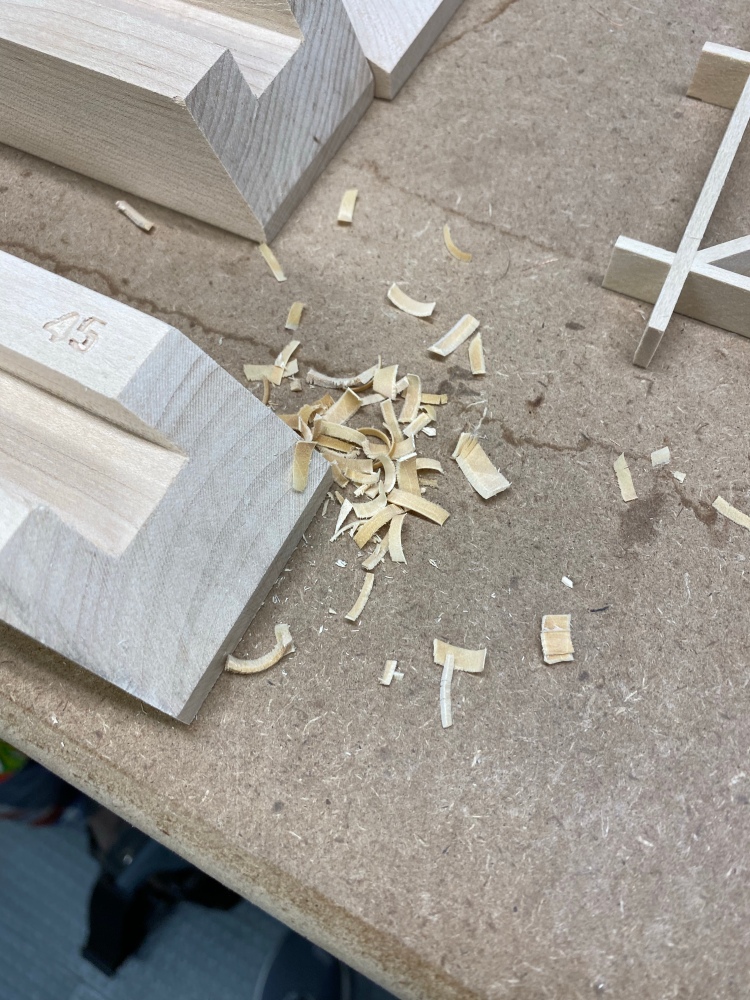
Without boring you with all the details, I will explain a bit about how all this comes together. First you assemble the grid. In this pattern, it is a square grid that is 2 squares wide and 2 squares tall. The grid is assembled by making notches in the wood strips where they overlap – known as a half lap joint. Thankfully for me, the half laps were already cut (remember, no saw) and so I could quickly piece them together. Now for the part where I actually have to do something. The first pieces to cut are the diagonals – one per square. I cut them with a hand saw to rough length, and then using the 45 degree angle jig, I cut two bevels on each end, making a point that was itself, a 90 degree angle (45 and 45 – yay math). That allows it to fit snugly into the corner at each end of the square. Basically, you cut the first end and then keep cutting the other end a bit at a time as you sneak up on the perfect fit. You need a snug fit so the joints “disappear”, but just in case, a tiny bit of glue holds each piece in place.

The next pieces will fit in on either side of the diagonals just inserted, so split that 45 degree angle in half the the next pieces will have two 22.5 degree bevels that fit in just right. You get the idea. The other end of those pieces needed a 67.5 degree bevel – and the combination of those three angles allows for all the joints in this pattern – and why it came with the three jigs. There are others – maybe I will try making them myself in the future, to expand the patterns I can try. That said, for a place to start, it was very nice to focus on the project rather than all the jigs to get started.

I enjoyed making it and look forward to doing it again – after my saw is up and running again so I can make my own strips going forward. Maybe I will even try some with different kinds of wood – possibly some unnecessary walnut I hear you cry? Now that I have the pattern complete, I have some ideas on what I will do with it. That will likely appear in the projects section once I settle on the design, and build whatever it turns out to be.

Until then, I hope you enjoyed my little detour into the world of kumiko and I hope to do more in the future. If you have suggestions for my completed asanoha pattern, please leave them in the comments. Otherwise, I thank you for reading along and wish you a very happy new year. All the best.
PS – the part to fix my saw arrived in the mail today. Hooray! Now I can get back to my earlier project, and then maybe try making some more strips for kumiko.

